

Most hosting providers may now include free ssl certificates, however some still don’t and if you are looking for a free way to install an ssl certificate on your shared web hosting then this article should provide you with all the information you should need.
UPDATE: 26/05/2018
Just came across this really cool site that makes issuing a free ssl certificate a breeze.
get your free ssl certificate here: https://www.sslforfree.com/
Step 1 – Enabling SSH Access
SSH access is required in order to install SSL on shared hosting accounts. Make sure you hosting provider allows you to gain SSH access and if so make sure it is enabled for your websites.
Step 2 – Installing ACME client and Composer
We will use ACME client written in PHP and composer to generate the Let’s Encrypt SSL certificate.
First of all, you will have to connect to your hosting account via SSH and download all the required components. If you are running macOS or Linux, you can use terminal to connect via SSH, Windows users can take advantage of Putty SSH client.
Connect to your hosting account using SSH information from Step 1.3.
In our example, it would be:
ssh x123011738@31.170.164.22 -p 65002
Clone acme client from github repository. Cloning can be done by executing the following command:
git clone https://github.com/kelunik/acme-client
Access ACME client directory:
cd acme-client
Download and install the composer:
php -r “copy(‘https://getcomposer.org/installer’, ‘composer-setup.php’);”;
php composer-setup.php;
php -r “unlink(‘composer-setup.php’);”;
php composer.phar install –no-dev
Step 3 – Generating SSL Certificate
Once you have downloaded and installed ACME client and composer, you can proceed and generate free SSL from Lets Encrypt. Firstly, register an account by running this command:
php bin/acme setup –server letsencrypt –email your@email.com
Note that you need to change your@email.com to your actual email.
The process of generating SSL certificate is pretty straightforward. Execute the following command:
php bin/acme issue –domains yourdomain.com:www.youdomain.com –path /home/x123011738/public_html:/home/x123011738/public_html –server letsencrypt
Change yourdomain.com to your real domain name and x123011738 to your actual username (you can check it on Step 1.3).
If the certificate was issued successfully, you will see the following message:
Requesting certificate …
Successfully issued certificate.
See /home/x123011738/acme-client/data/certs/acme-v01.api.letsencrypt.org.directory/yourdomain.com
ACME client generated certificate and private key files. Unfortunately, installation cannot be done via SSH due to security restrictions. Therefore, you first need to manually copy certificate and private key files to your computer. It can be done using simple copy / paste method. Firstly navigate to the directory where private key and certificate files are stored:
cd /home/x123011738/acme-client/data/certs/acme-v01.api.letsencrypt.org.directory/yourdomain.com
Use cat command to see contents of fullchain.pem file:
cat fullchain.pem
Copy the part marked in red and save it in a text file on your computer. Name the text file certificate.txt.
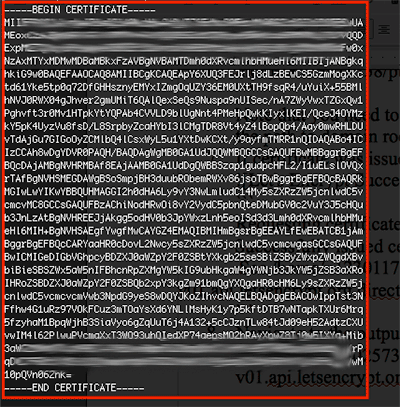
Let’s Encrypt Certificate Copy
Now do the same with private key:
cat key.pem
Copy the private key (as shown in the screenshot) and save it in a text file as well. Name it privatekey.txt.
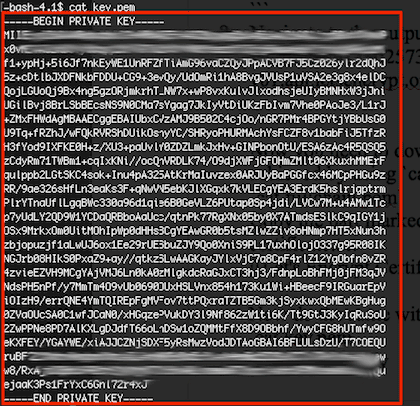
Let’s Encrypt Key Copy
The hardest part is over. You can now proceed with the installation of SSL certificate.
Now go to your hosting web panel and find the ssl icon link and click on it.
This should provide you with two text boxes to install the certificate in part one and the key text part of the certificate in the second key text box.
Click install and you should get a confirmation that the certificate has been successfully installed.
